Installing downpipes – how to fit downpipes to your house
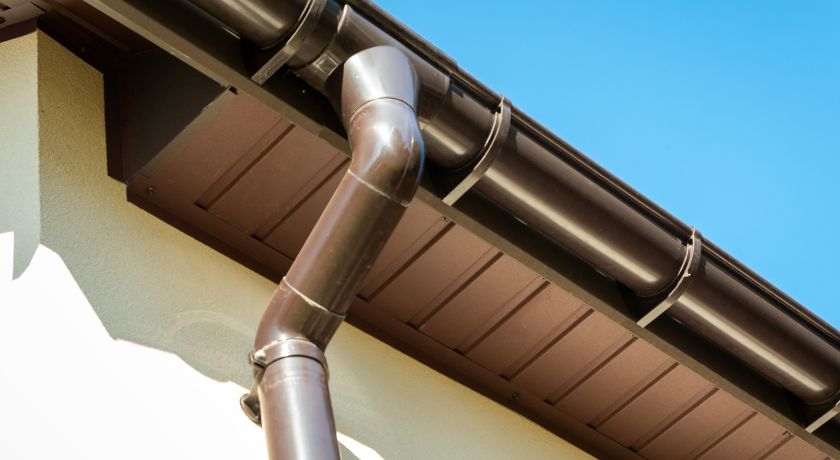
Installing downpipes is an important part of your home’s rainwater drainage system. Downpipes carry rainwater away from the gutters and help protect the façade, foundations and ground around the building from moisture damage. With the right materials, careful preparation and correct installation, you can create a durable system that works for many years.
In this guide, we explain how to install downpipes, which tools and accessories you need, and what to keep in mind to achieve a good result.
Preparing to install downpipes
Before you start, it is important to plan where the downpipe will be positioned. Begin by measuring the distance from the gutter down to the ground and checking how the pipe will run along the façade.
Also make sure you have the right materials. You will usually need downpipes, pipe bends, pipe brackets, screws and a discharge shoe or a connection to a surface water drain. You may also need a drill, tape measure, spirit level and tools for cutting the pipes.
Choose downpipes that are compatible with your home’s roof drainage system. Downpipes come in several materials and sizes, with coated steel and aluminium being common options.
Installing downpipes – 5 simple steps
1. Measure and plan
Measure the distance from the gutter down to the ground and decide where the downpipe will be positioned. Check which pipe bends and accessories are needed.
2. Fit the connection
Fit the connection to the gutter outlet. Use pipe bends if the downpipe needs to be brought closer to the façade.
3. Secure the pipe brackets
Mark the positions of the pipe brackets and screw them to the façade. Use a spirit level to make sure the downpipe is straight.
4. Install the downpipe
Cut the downpipe to the correct length and assemble the sections. Secure the pipe in the brackets and check that all joints are firmly connected.
5. Finish and check
Fit a discharge shoe or connect the pipe to the surface water drainage system. Run water through the gutter and check that it drains away without leaking.
Important installation considerations
For the downpipe to work properly, it needs to be securely installed with the correct connections. Avoid gaps between pipe sections and check that the fixings are suitable for the façade material.
It is also important to direct the water away from the house. If rainwater collects near the foundations, it can cause moisture problems over time.
Downpipe maintenance
Once the downpipe is in place, it is a good idea to check the installation by running water into the gutter. This will show you whether the water flows as it should and whether there are any leaks.
Also clean the downpipes regularly to remove leaves, dirt and other debris that could cause blockages. At the same time, check that the pipe brackets and joints are secure.
Fit the right accessories
Installing downpipes does not have to be complicated. With careful preparation, the right accessories and correct installation, you can create effective roof drainage that protects your home from rain and moisture. Regular checks and maintenance will also help ensure that your downpipes continue to work for a long time.